You blog. You Profit. Sign up for SocialSpark! i get the cutest handwriting fonts at fonts for peas! kevinandamanda.com/fonts

Friday, December 7, 2012

Christmas 2011 Layouts

Christmas Layouts using last year's photos and chipboard stickers. Can't wait for the Christmas Fun this year!









Saturday, November 10, 2012

Love at Home Layout

For this month, I had to use a House Shaped Plastic Die Cut - I should go find the official name for it. Anyway this layout is my take on Stephanie's layout from a crop I went to from Lucky Lark Designs.

I used my Big Bite crop-a-dile to punch holes through the house and paper. Then I put some thin string through to hold it in place so it's like a mini flip book on a layout. I plan to go back and add another house piece or two. On the right in between the brackets I'll add some journaling paper strips.


Saturday, October 13, 2012

Halloween Pumpkins with Mod Podge

Here are some fun pumpkins I made for October's 2nd Saturday class using Martha Stewart pumpkins face decals. They are similar to doing fake tattoos. 


I took a wooden shaped pumpkin - just thin MDF type and decoupaged pieces of various fall papers on to it. I did that to both sides. These would be great projects for the kids to do as well. You can get them smaller ones (around 5x7) if you don't think they'd be patient enough to do the whole thing.

I like the colors of this one better. I think I might add a pictures and Halloween saying to the back of this one.

On this one, I used the Martha Stewart pumpkin face decals  since it looked more pumpkin colors.

Way cuter with a face on it =)


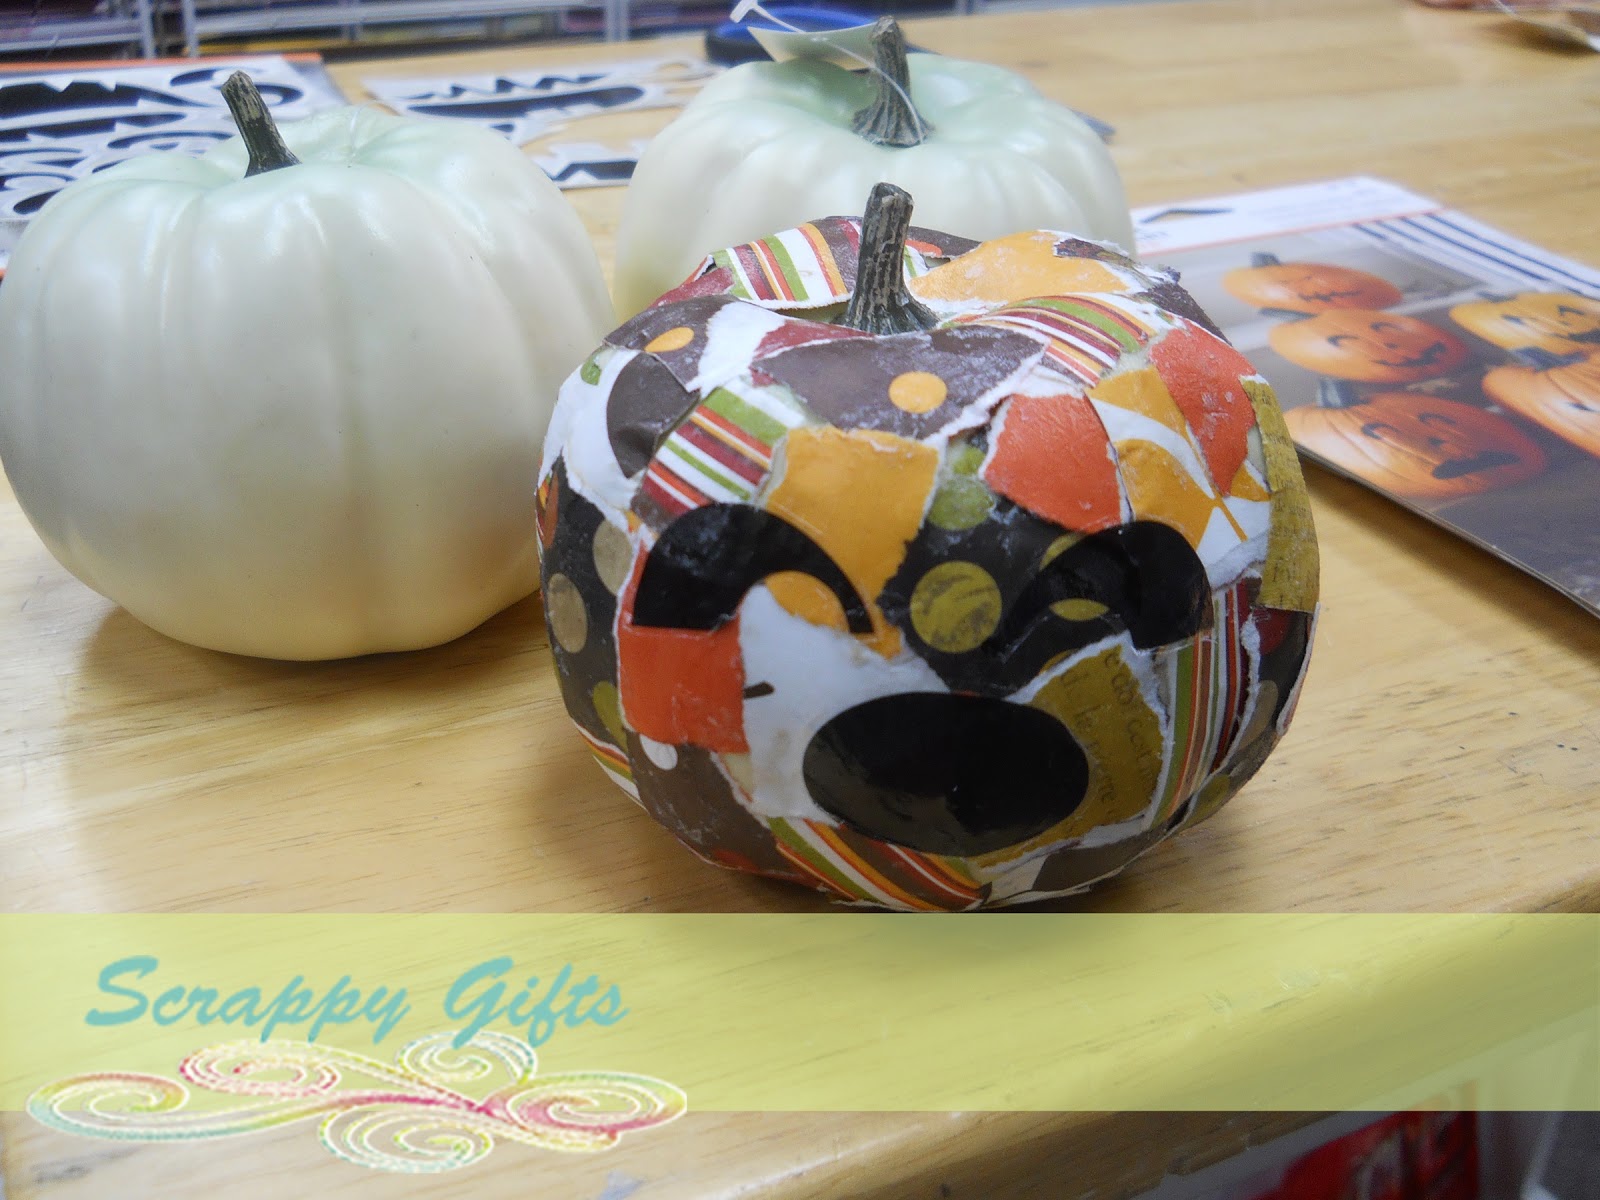
Then I also attempted a small 3D pumpkin because years ago one of my friends did this technique on a large pumpkin. I don't remember it being so hard though maybe because hers was bigger not as many bumps?
This small pumpkin took me an hour to decoupage since it was so bumpy. I put mod podge down, put a strip of paper down, more mod podge and had to hold it in place to conform to the curves and bumps of the pumpkin. My hands were a big mess after. It's really cute though huh!


Since it's so small though, people might mistake it for an apple. That works too right? =D


Monday, September 10, 2012

Wall Flowers

I was inspired by these Scrapbook Wall Flowers pinned here. I made these for my second Saturday scrapbook class I teach =). These were back from May! Sometimes I make so many projects at once that I forget to post about them =).


Instead of using cardboard, I used the wooden flowers that I bought from Pick your Plum a while ago.

Then I followed her tutorial for the most part. =)

I used my trusty glue dots to hold the petal down, but hot glue may have been better since these are pinched. I laid them out on my wooden flower to see how it wood look.


On the back of the wooden flower, I added a bunch of flat flowers. For the center, I used scrap strips like a pinwheel. Then I added some bling to the petals. Then I made a second flower that exposed more wood instead of covering it all with paper. I used a circle stamp for a textured look.


I'm Topsy Turvy


Related Posts with Thumbnails